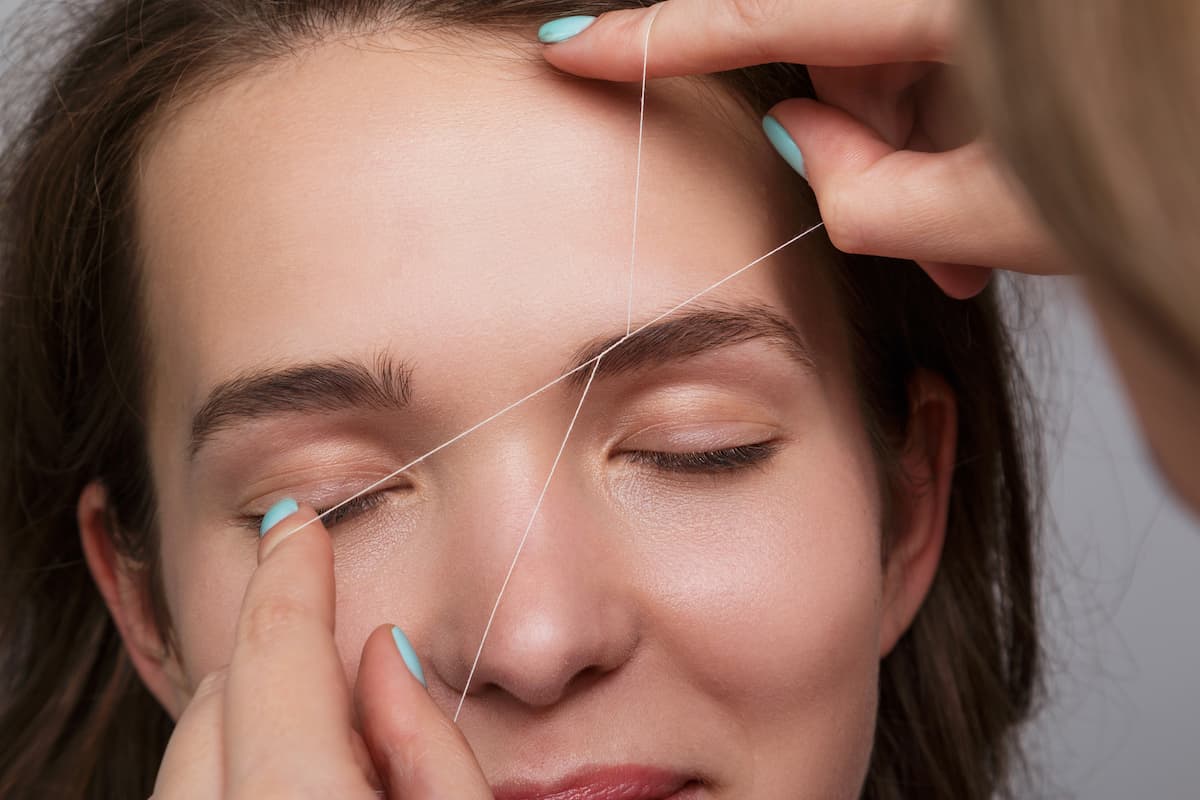
How To Thread Eyebrows With Floss – Step By Step
Threading is a process where a string is held between the fingers and moved back and forwards against the skin to pluck out and remove hair.
The technique originated in India and has quickly become a popular method of hair removal worldwide.
Being able to thread your eyebrows at home has numerous benefits, from avoiding the need to travel to a salon to being able to shape your eyebrows exactly the way you want.
The easiest part about it is that you can use a simple household supply to get it done – dental floss!
How do you thread eyebrows with dental floss?
In short, in order to thread your eyebrows with dental floss, you’ll need good lighting, pre-trimmed eyebrows, and at least 14 inches of floss.
Here is a complete guide!

What You Need
These simple supplies can be found at home, making the process super accessible to almost everyone.
- A 14-inch thread of dental floss
- Eyebrow scissors or small scissors
- Eyebrow brush
- Eyebrow pencil
- Aloe vera gel or an ice pack
How To Thread Eyebrows With Floss
Step 1
Find a mirror in your house with good lighting. Place all your supplies together. Position yourself in front of the mirror so you have a good view of your eyebrows.
Avoid using a magnifying mirror as this could lead to over-threading.
Step 2
Before you begin threading, you will need to give yourself some shape to work with. Trim your eyebrows slightly if there are any longer pieces that stick out.
Once you have finished trimming, draw an outline of the brow shape you want. Start from the inside of your brows, extending outward in a sweeping motion.
This is a crucial step to remember, as it guides you on which hairs to leave and which to remove.
Take the natural shape and the desired shape of eyebrows into consideration when doing this.
Step 3
It is time to prepare your brows. Use an eyebrow brush to sweep your eyebrow hair upward.
Using the brush to hold the hair in place, use eyebrow scissors to trim the ends of any long hairs.
Once you have done this, comb the hair downwards and repeat the process to eliminate any long hairs that stick out from the brush.
Try your best not to over-trim your brows. When you have finished trimming, brush the hair back into place, and you will immediately notice a difference in your eyebrows.
Trimming gives your eyebrows a neater and fuller appearance, making the threading process easier.
Step 4
You will now need to prepare your floss. Take a 14-inch length of dental floss and tie the two ends together to form a loop.
Be sure to make the knot tight and firm, and cut off any loose ends to form a clean loop.
Step 5
To twist your loop, hold one side of the loop open with your forefinger and thumb, and place your other forefinger and thumb between the thread on the opposite side.
Use one thread to twist the thread around 4-5 times while keeping the other hand still. Once this is done, you should have a twisted section in the middle of the loop.
Step 6
Now, open and close the distance between your thumb and forefinger on either side of the twisted middle section. By doing this, you will cause the twisted section to move from side to side.
Open one hand and close the other to move the middle twist.
Practice this motion until you are confident and comfortable doing so, and consider practicing on your leg hair if you feel it’s necessary.
If the opening, closing, and twisting are difficult, you may need to shorten the thread slightly. You can also use your middle and ring fingers if it is more comfortable.
Step 7
Position the middle twist of the thread over your eyebrow, on top of the hair that you want to remove. These hairs will be on the outside of the pencil that you have used to shape your brows.
Step 8
Close the hand that is in control of the center twist, while opening the other hand. Slide the twist across your skin slowly but firmly.
The end corners of the twist will grab and pull out hairs as it moves.
The twist should always move in the direction opposite to the direction of hair growth. Try to be as gentle as possible, avoiding tugging on your skin or pulling hairs too harshly.
Step 9
Once you are confident with your first stroke, you will need to reposition the twist to a new section of hair that you want to remove.
Continue to repeat this process until your eyebrows are in the desired shape.
As you become more comfortable with the motion, you will be able to take on larger areas of hair. Remember to also thread between your eyebrows to remove any free-standing hairs.
Step 10
The aftercare of your brows after threading is crucial. You may notice that your skin appears slightly red and is a bit tender.
To soothe the redness and to prevent infection, apply some aloe vera gel to the area. If the redness and inflammation continue, apply an ice pack to the area to further soothe and cool it.
Step 11
Wait a few hours and examine your brows. If there are any loose hairs, you can thread these small areas to perfect your brows.
Brush your brows up again to check that all the long hairs are trimmed, and to move the hair upwards to check that any stray hairs have been removed.
Try to avoid tweezing your eyebrows in between, as this can cause the hair to grow back at a different rate and disrupt your threading schedule.
Eyebrow Threading Tips

Like every other beauty technique, there are some wonderful tips that help make the threading process easier and more comfortable when doing it at home.
If you are interested in investing in a designated threading machine, you can explore my top options here.
You may need to try out a few things beforehand to determine what works for you, but with time, you will have your threading preparation and technique perfected.
- Steam your face in hot water or in the shower before using floss to thread your eyebrows. This opens up pores and softens the hair, making it easier to remove.
- If you know that you have a lower pain threshold or are sensitive to pain, use an anesthetic cream or teething gel a few minutes before threading to help numb and desensitize the area.
- To help the floss grip the hair during threading, apply some talc to the area around the eyebrows.
- Before threading, you can apply an ice pack to the eyebrow region to numb the area and try to reduce the pain felt during the procedure.
- Have an LED light nearby to help check if you have missed any hairs along the way. Natural lighting is best, but it’s always helpful to have an extra, stronger light source available to check for any missed hairs.
Related Questions
How long does threading take?
The time it takes for eyebrow threading depends on your skill level and the amount of hair to be removed. It can take anywhere between 3 and 7 minutes.
Is threading painful?
Threading can be painful, but not as painful as waxing. It does not pull on the skin or have any additional heat like waxing.
However, the hair is still being pulled out from the follicle, so you can expect some discomfort or pain.
How long does threading last?
Threaded eyebrows can take around 6-10 weeks to grow back. To extend this, you can tweeze or re-thread any hairs that appear before this.
If you continuously thread for an extended period, the hair in the region will grow back more slowly and finer, making maintenance and threading much easier in the future.
Is eyebrow threading safe?
Threading is both safer and more efficient than waxing and tweezing. It pulls out the hair from the root, without having to pull on the skin.
The pain from threading subsides fairly quickly, whereas tweezing involves plucking one individual hair at a time, which is both time-consuming and more painful.
Waxing can leave the eyebrow area sore for a much longer period, as the wax pulls on the sensitive skin in the brow area.
Threading With Floss

Once you have mastered the technique, threading will become your go-to method for brow grooming.
Not only can you remove any stray hairs that have grown back, but you can shape and perfect your brows from home.
As the center twist of the floss is so small, it allows for great precision when removing hair, which is something that is not easily achieved with waxing.
To get threading at home, all you need is some trusted dental floss, a little extra time to practice your technique, and you will be ready to get going.
Take some time to perfect your threading skills with floss to save you time and money by avoiding salon trips.
Related Articles
5 Best Self-Tanners For Beginners (With Step-By-Step Guide)


