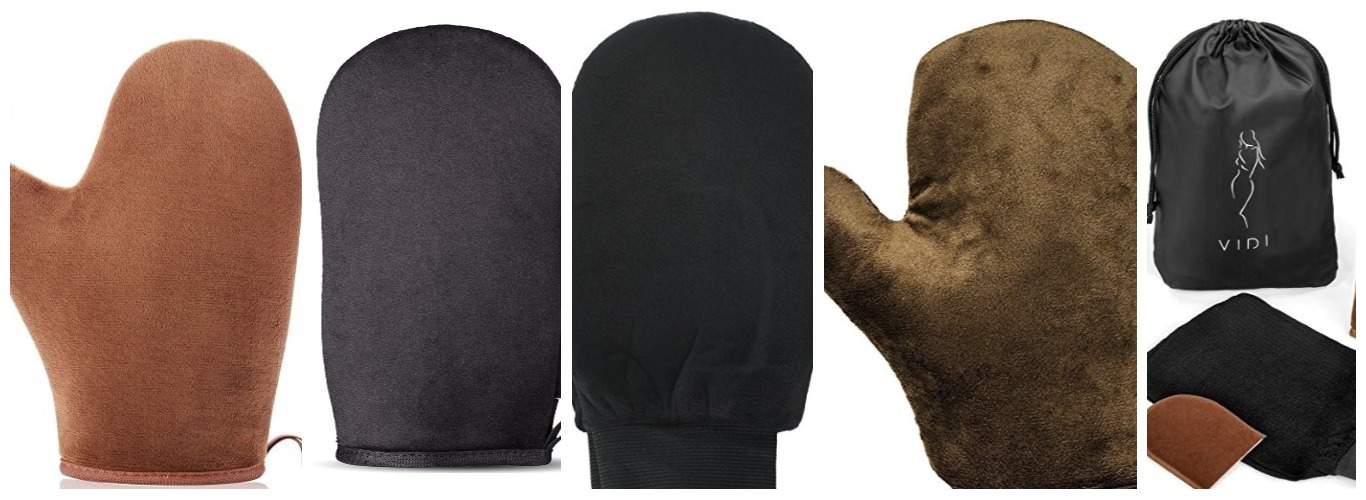
5 Best Self-Tanning Mitts
A self-tanning mitt helps spread lotion or mousse while keeping much of the product off your palms. The details that matter are simple: a soft application surface, an intact protective lining, and a fit that stays manageable as you blend.
The best mitt depends on your routine. MineTan offers a double-sided applicator for foam and lotion; Famous Dave’s and Gaiyah have thumb designs for added control; Norvell is worth comparing if machine washing is a priority.
Below, compare five mitts by practical features, then follow the application and cleaning tips to get more consistent use from whichever one you choose.
5 Best Mitts For Self Tanning
Self-tanning applicators range from simple foam mitts to reusable velvet-style gloves. A basic mitt included with your tanner can be enough if it fits well and its lining is intact.
Consider replacing it if seams split, the surface becomes rough, or product reaches your palm through a damaged lining. Price alone does not tell you how well a mitt will work.
The options below focus on reusable applicators. None can guarantee a streak-free tan without suitable preparation and careful application.
Compare the current price with the construction and care instructions, rather than paying extra for appearance alone. A washable mitt you can keep clean may be more useful than a set of tools you rarely use.
If you have chosen a quality self-tanner that suits your skin, pair it with an applicator recommended for that formula. Concentrated tanning drops, for example, need mixing as directed before application.
Use these criteria when comparing the mitts:
- Price
- Fabric, seams, and lining
- Fit and grip
- Ease of Application
- Ease of Cleaning
Here is what each option offers, along with its main limitation.
1. MineTan Self Tanning Mitt
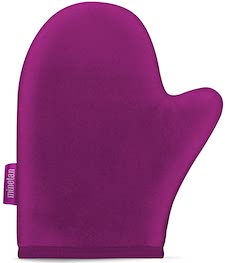
MineTan’s Bronze On Applicator Mitt has a double-sided, velvety surface that can be used on either hand. It is a straightforward option for applying foam or lotion without needing separate left- and right-handed gloves.
MineTan’s care instructions say to rinse the mitt and let it air-dry completely before reuse. Check your version before machine washing; a “washable” label does not always specify that method.
The brand lists it for self-tan foams and lotions. Pump a small amount onto the surface and spread it in sections, adding more only when you need it.
Best for: a simple double-sided applicator for foam and lotion. Main limitation: the lining helps protect palms, but leaks can still happen around the cuff or through wear. Wash hands if any tanner gets inside.
2. Elan Pure Self Tanning Mitt – Double-Sided Velvet Applicator

Elan Pure’s reusable tanning mitt is a velvet-style option for readers who prefer a soft application surface. Its appeal is straightforward blending rather than a promise that it absorbs no product or delivers perfect color every time.
The brand’s mitt care guidance recommends warm water and/or mild soap after use, followed by air-drying. Clean it before old product builds up and makes the surface stiff.
Best for: a soft reusable applicator with simple hand-cleaning instructions. Main limitation: fit is personal. Check the shape and dimensions of the version you buy rather than assuming it has a thumb pocket or fits every hand.
3. Famous Dave’s Sunless Tanning Mitt
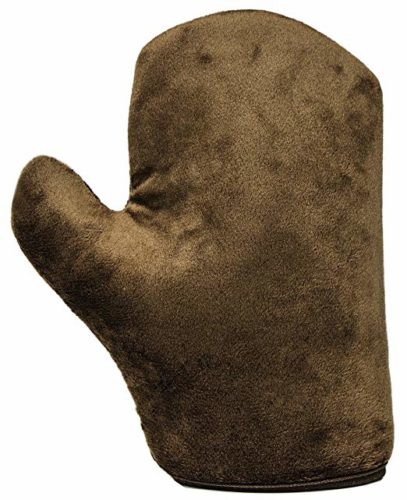
Famous Dave’s Sunless Tanning Mitt is worth comparing if an ordinary pouch-shaped mitt tends to rotate on your hand.
It is a single applicator rather than a preparation kit. That can be enough if you already have the other tools you need.
The brand’s mitt description lists a double-sided surface, stitched construction, a thumb design, and a lotion-proof barrier. The thumb helps anchor the glove while you move it over the skin.
A thumb design can improve control, but it cannot guarantee a snug fit for every hand. Avoid gripping or bunching the fabric so tightly that only one small patch contacts the skin.
Check the seams and lining before each use. Reusable construction is useful only while the mitt stays smooth and keeps product from reaching your palm.
For hands, feet, and joints, use the light residue left on the mitt rather than a fresh heavy dose. Facial application depends on your tanner’s directions, not the mitt’s shape.
Best for: readers who want a thumb design and double-sided application. Main limitation: a full-size body mitt may be less precise than a smaller facial applicator.
4. Gaiyah Self-Tanning Mitt Applicator
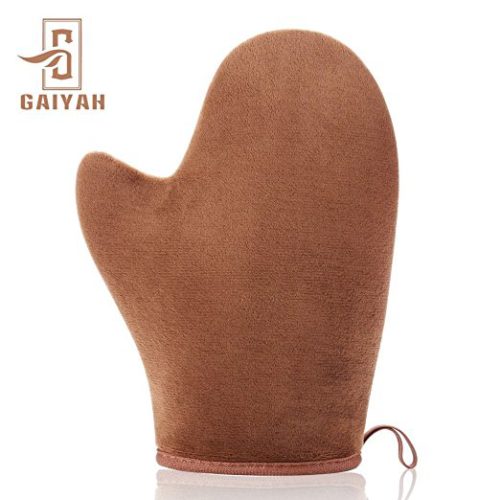
Gaiyah Self-Tanning Mitt Applicator is another thumb-style option for readers who want more control than a basic open pouch provides.
Compare the mitt’s shape, lining, and seams with what you already use. A familiar brand name is less important than whether the tool fits comfortably.
Its velvet-style application surface is designed to spread tanner gently. Keep pressure light; a soft mitt should not be used to scrub product into the skin.
The mitt is reusable, but follow the care instructions for the version you receive. Avoid assuming every Gaiyah set or listing has the same washing requirements.
The double-sided design allows use on either hand, while the thumb section helps limit rotation. Check the cuff fit too, especially if mitts often slide during application.
Stitched edges are useful to inspect before buying and during use. Loose seams or a torn inner barrier are reasons to replace the tool rather than continue applying tanner through it.
Best for: comparing a thumb-style, double-sided applicator with similar mitts. Main limitation: value depends on the current price and construction, not a promise of unlimited reuse.
5. Norvell Sunless Blending Tan Mitt
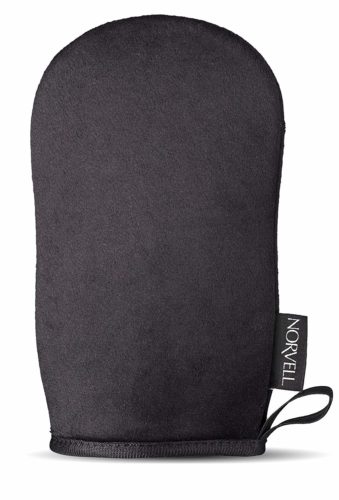
Norvell’s Sunless Blending Tan Mitt is worth considering if you prefer an applicator with a clearly stated machine-washing option.
Its purpose is straightforward: spreading tanning product and helping keep it off your palms. You do not need several accessories for that basic job.
The care details are its most useful point of comparison:
Machine or hand washing: Norvell’s current instructions allow gentle machine washing with mild detergent or hand washing, followed by air-drying. Follow the care label on your particular mitt.
Rinse away excess tanner first and keep the mitt away from pale or delicate laundry that could pick up residue. Air-dry instead of putting it in a hot dryer.
Pouch storage: if your version includes a pouch, store the mitt only after it has dried completely. Sealing a damp, unwashed applicator in a bag is not a good way to keep it ready for next time.
Best for: readers who value flexible washing instructions. Main limitation: machine washable does not mean heat-proof, and an intact lining still matters for preventing stained palms.
How To Use A Self-Tanning Mitt
Good technique matters as much as the applicator. Start with the tanner’s own preparation, skin-test, and development instructions.
Use a clean, fully dry mitt. A wet applicator can change how the formula spreads, while leftover product can make it harder to judge how much new tanner you have added.
For broader preparation and aftercare, follow our self-tanning preparation guide. Avoid tanning broken or inflamed skin, and do not scrub irritated areas just to make the finish more even.
Place the mitt on your dominant hand, or switch hands if the design allows it. Dispense a small amount of your prepared tanning product onto the application surface.
Start small. Apply to one section at a time, such as a lower leg, and reload when the mitt no longer spreads a light, even layer.
A fresh mitt will absorb some product, so do not assume it always needs less tanner than bare hands. Use the amount specified for your formula and judge coverage as you go.
Use gentle circular or sweeping movements as the product directs. Once a section is evenly covered, avoid repeatedly dragging a loaded mitt over it and making that area darker.
Use less on ordinary dry joints such as elbows, knees, and ankles. Blend the remaining product lightly over the backs of hands and feet. Keep DHA tanner away from the eyes, lips, and inside the nose.
A little plain moisturizer on dry joints may help if your tanner’s instructions allow it. Our guide to moisturize before self-tanning explains the timing. Do not automatically wet the mitt or dilute every formula, since that can change its application.
Clean and dry after use. Follow the mitt’s care label, gently remove residue with the approved washing method, rinse well, and air-dry fully. Wash your hands too if tanner reached the cuff or lining. Replace the mitt when seams fail or the inner barrier leaks.
Final Thoughts
Choose by the problem you want to solve: double-sided application, better grip, or easier washing. You do not need the most expensive mitt to improve a basic tanning routine.
An intact lining helps protect palms, but a mitt does not protect skin from sunlight. Keep using a broad-spectrum SPF 30 or higher sunscreen outdoors even when your tan looks developed.
If you tan regularly, a spare mitt can be useful while one dries. For a compatible formula, compare the options in our self-tanner buying guide. The best pairing is one you can apply carefully, clean easily, and use comfortably.
Related Articles
How To Apply Fake Tanner Without A Mitt – 5 Simple Ways